There is nothing I love more than the smell of fresh pine and cedar this time of year. So I decided to make fresh garlands for my home and I wanted to share with you just how I do it. If I could and had the time I would fill our whole home with this beautiful garlands. It is so fun and honestly has been such a wonderful addition to our Christmas decor this year.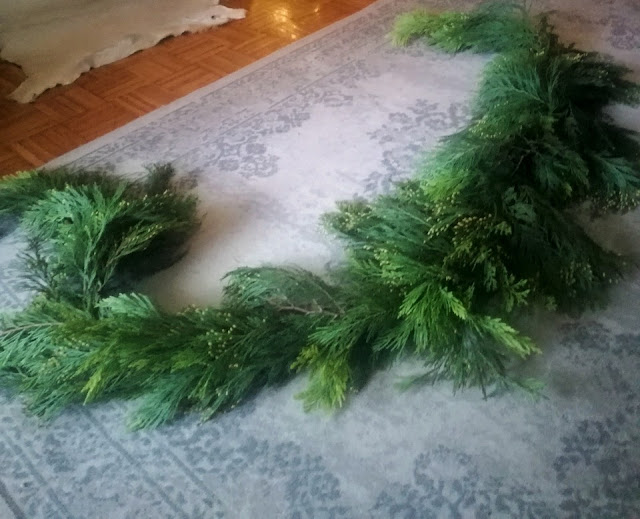
I love the free form and natural look that fresh garlands creates in the space. The easiest thing we can do with our holiday decor is to use what already exists in the nature and in fact, it is also the cheapest. I spent a total of $0 on this garland and in all honesty, this is my favorite I have ever made.
Maybe it is because it feels like home because it celebrates the nature or maybe it is because this year I finally decided to wear gloves and avoid getting sap all over my hands. Either way this year I am sharing how you too can celebrate what surrounds your home just as easily as I have.
Take a basket or bag along and gather up fallen branches or even nab some if policy allows. Foraging is 100% okay but do it respectfully and save the nature.
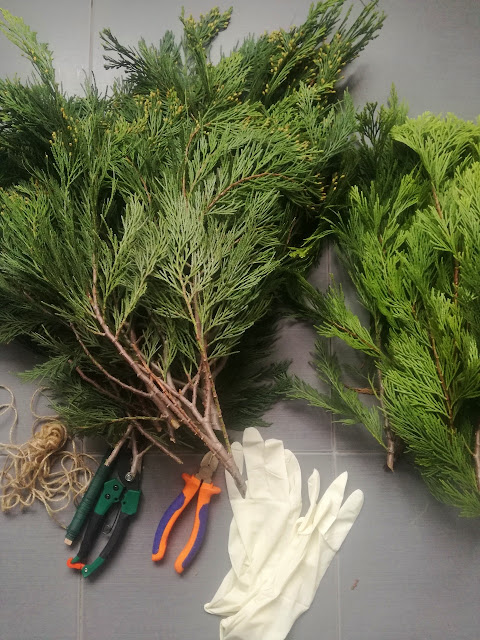
Materials Needed to make this Garland:
1. Evergreens
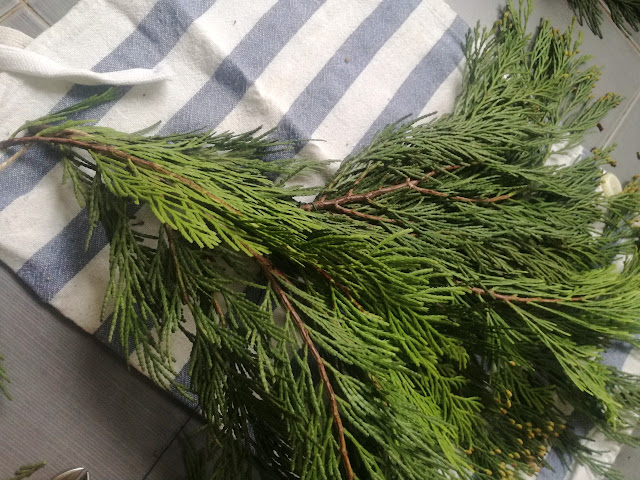
At least 1-3 types of greenery of your choice. I used just 2 types of cedar, incense cedar and northern white cedar but you can use as many as you like.
2. 22-gauge floral wire
I recommend a thickness that is thick enough to work with but not so thin that it breaks easily. A green wire works well for blending in the greenery.
3. Rope or jute string
4. Cutting Pliers or Heavy Duty Scissors that can cut wire.
5. Command Hooks (you can use nails as well)
6. Gloves and old clothes help to protect you from injury and allow you to move around freely.
Now let’s start having some fun!
How to Make a Garland Step-By-Step
1. Measure:
You will want to measure the area you are creating the garland for. You can also eye-ball it , but if you are wanting to be a little more exact I highly suggest measuring the area and adding an extra 6-12 inches.
2. Organize your greens:
I always want to see all of what I have before I start so I can make a plan. If you are planning to use 2-3 or more types of greens it`s best to organize them in sections by type so you can easily grab the piece you want to use for each bundle.
3. Choose your ends:
When I organize my greens, I look for the one with the proper character to end each side of the garland. For instance, I like pieces that have a perfect cascading shape to it that will close off the ends perfectly.
4. Create a small bundles to create the structure:
I always begin with small groupings of greenery to make sure I create a structure that will hold up to being hung. I loved cedar for it`a soft, feathery look, so I decided to use them, but you can use aa many variety of greens your heart desires. Usually I also use a variety of greens for some dimension and interest, but this time I used just two types of cedar. I recommend using a few different greens, they always look very beautiful and lush.
5. How to start making the garland:
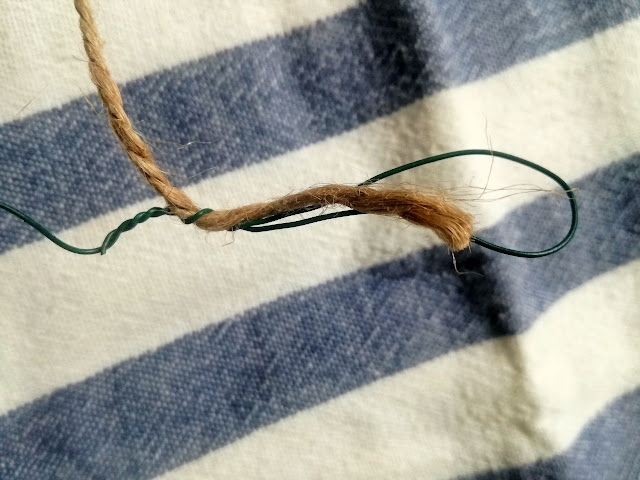
If may look complicated, but it`s not. Start by securing (wrapping) your wire to one end of the rope. DO NOT CUT YOUR WIRE TILL THE END OF THE GARLAND!
If you want to make it a little easier to mount it, you can use the floral wire to make small loops to connect to the hooks or nails you have placed appropriately on your mantel, wall or trim. You can do this by simply making a loop and twisting the base till the loop begins fully and securely closed.
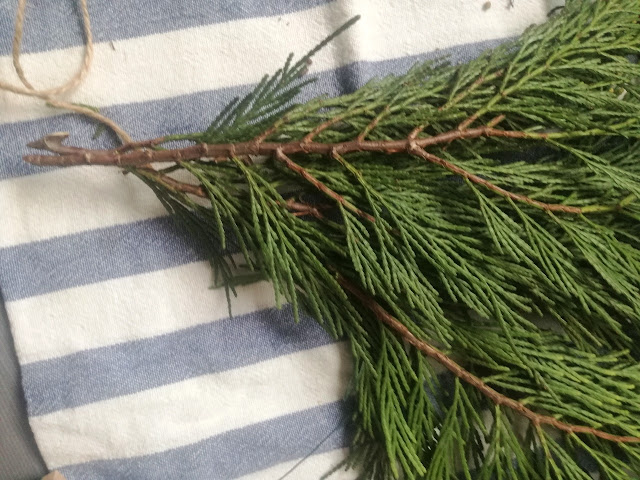
Next, place a first bundle of greens and secure it to the rope by wrapping the wire around it 2-3 times. Make sure to tightly pull your wire while doing it, because when your greens start to dry up, they will lose their volume and shrink.
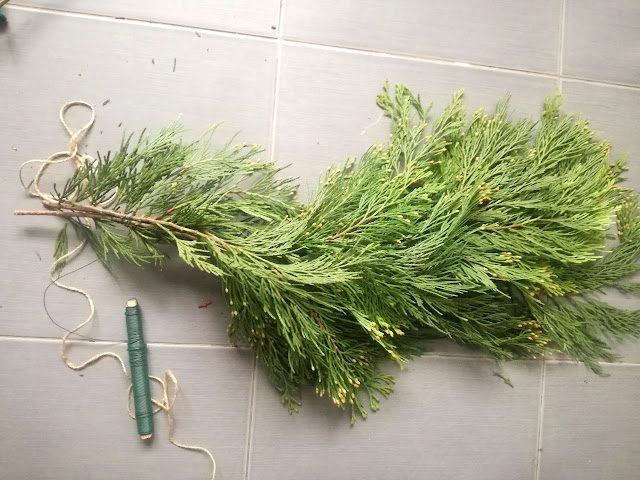
After securing your first bundle, place another one half way down and secure it with wire the same way you did before. Pay attention to placement of your bundles. Best tip to create the great look is to place your bundles strait, then left, then right, strait again, left, right etc. This way your garland will look fuller and more natural.
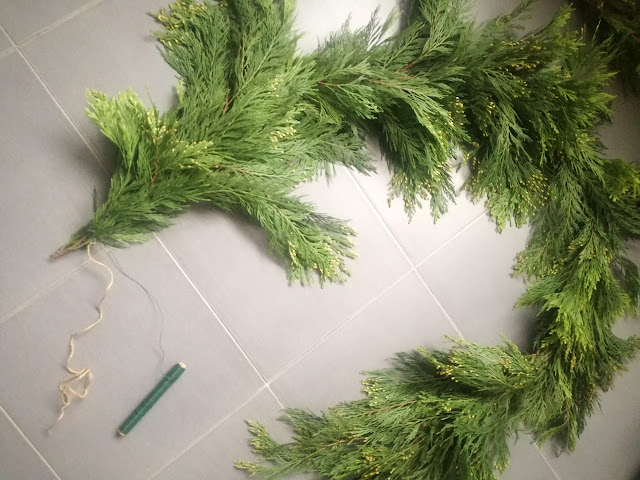
Repeat this steps till the end of garland.
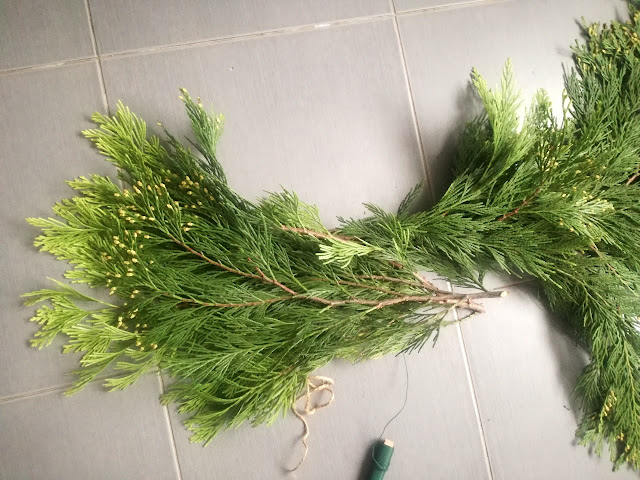
To make the end of the garland, turn the last bundle opposite and secure it with the wire.
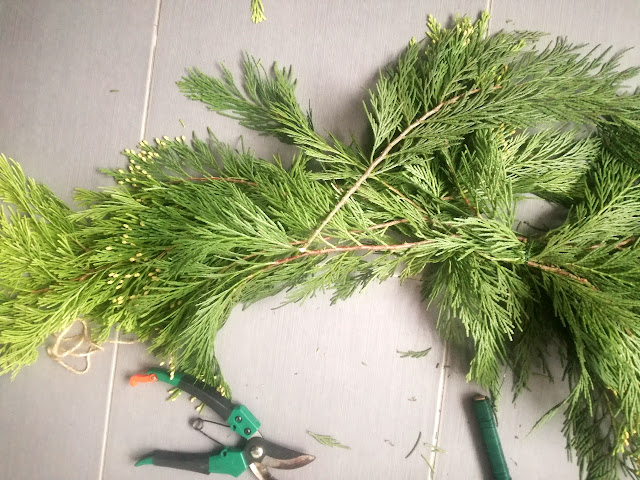
Fill in the gap with a individual branches and secure them trying to hide the wire by weaving it in between the greenery.
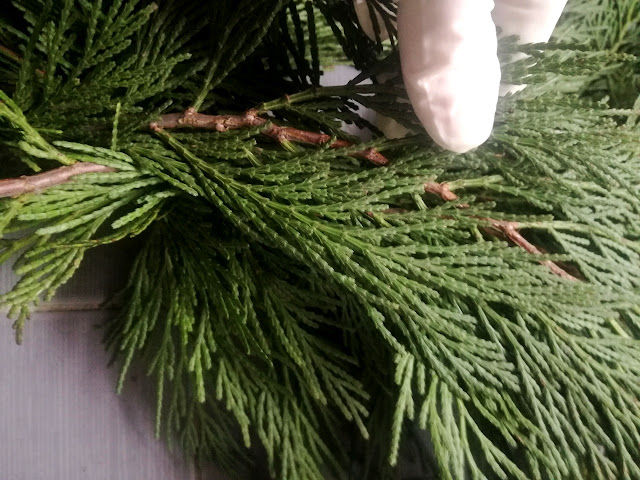
Make a second loop for hanging your garland.
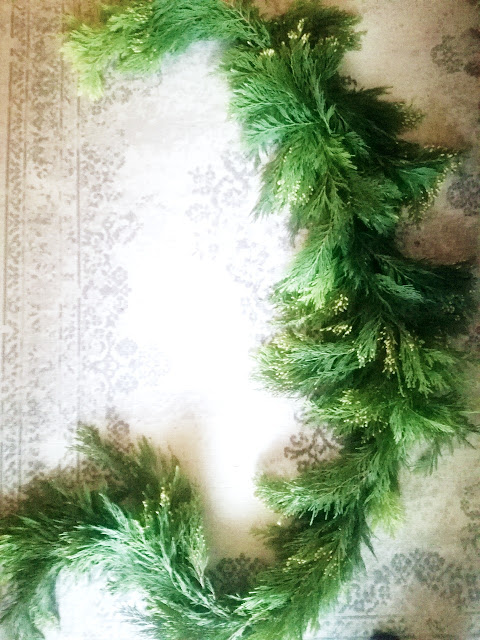
Now you should have that garland base all created! Now comes the extra fun stuff.
6. Place your garland:
If you haven’t yet, set your hooks. I highly suggest 2-3 for mantel or single doorways and 3 - 4 for double and 4-5 for triple width doorways.
Once you have the hooks where you want them, attach the garland by the loops you created.
7. Fill in the Gaps:
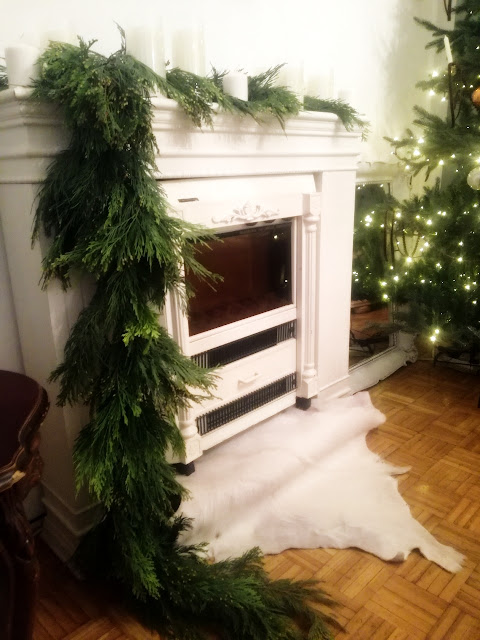
This is the part to make your garland perfect. Now is the time for all the extra pieces you have left. You can use the structure of the garland to place various greens into the garland. You can use all different types and letting them add depth to the garland. You can decide when it is finished for you. I typically work on mine throughout the week as I look at it and find some imperfections.
Bonus tip: Olive Oil helps to remove the sap on your hands after you complete the garland, if you decide not to wear the gloves. Just place some olive oil and soap on your hands and scrub under hot water to remove the sticky feeling.
That is all it takes to make your own garland for your home this holiday season. If you have any questions or any other tips feel free to leave them below! I would love to hear and to answer. Happy Holidays!

Follow me on Pinterest HERE Find my Free Printables HERE_____________ Keep in touch! Love FREE PRINTABLE?Sign up for my email subscriber list and get your FREE Daily and Weekly To Do List, Free Fitness Planner Printable;The Ultimate Packing List and much more to come!Subscribers Only!

Love FREE PRINTABLE?
Sign up for my email subscriber list and get your FREE
Daily and Weekly To Do List, Free Fitness Planner Printable;
The Ultimate Packing List
and much more to come!
Subscribers Only!