Happy spring, friends! It`s my favorite time of the year for decorating and over the last couple of weeks I’ve been adding touches of spring in our house. I’m thrilled to share my home decorated for spring and hope you`ll like our Blush and Neutral Spring Home Tour!
━━━━━━━━━━━━━━━━━━━━━━━━━━━━━━━━━━━━━

Like every year, I’ve kept my spring decor quite simple, but it makes such a refreshing impact. Simple and clean, with a “less is more” motto is always my style. Some pretty pastels along with the flowers and greenery and we’ve brought in spring!
My theme this year are the usual neutrals with a blush pink. I decided to add this popular color because it`s so liveable and pairs nicely with blue and all neutral colors in our home, including white, gray and black. Although I didn`t do that much, yet I have some fun updates to share with you which includes some new pillows, rugs and the big abstract art piece in our dining room (I`m the artist- can you believe!)
Starting in my entryway I added just a few white flowery branches and a gallery wall on the other side (you can see it here).


For my spring decor in the living room I’m all about simple, beautiful living. I added just fresh flowers to my coffee table and bar card, a little bunch of white carnations on side table, few blush pillows on our sofa and chair and a pink throw! These are simple, easy touches of spring freshness that we love!


Our mongolian fur stool are one of the best things I’ve ever had! I use it for extra seating, as a foot stool or side table. And it is just so pretty!


Love this blush double sided pillow! I find it in Ikea and immediately fell in love. So pretty and comfy on my "reading" chair!


This little ladder are also a new addition to the room. Pretty nice way to keep and display blankets and throws.


And here’s our spring dining room. As I mentioned at the beginning, we have some news here. First of is the rug, that I also find in Ikea. I wasn`t sure about it at first, but my son convinced me to buy it. It`s not the one I want, but it will do for now. Gray is a very forgiving color for the high traffic areas like this. Other novelty is this big art piece on the wall. I wanted something abstract and modern for this space and I painted this the other day. It came out pretty good, don`t you think?


Blush pink plates are also new and also from Ikea (this is not sponsored by Ikea, although I would love it is... ) and on top of them are small floral dessert plates that I have for a long time, along with my silhouette black and white Easter eggs - you can find more about them here.


On the kitchen island I have a try with a pink vase filled with fresh branches, small pitcher with white carnations and marble pounder.

Last, but not least is my kitchen. We did a total makeover here almost six years ago and I still love it. It is a small, but functional space with lot of storage and natural light. The only new thing here is a big farmhouse clock and a small striped Ikea rug. I try not to clutter my work space, so I just added a potted flowers.A bouquet of fresh greens, along with a bowl of freshly picked lemons and apples make the perfect centerpiece for the small cabinet.


Simple little things; like elements from nature, colorful textiles and fresh flowers, are my favorite things to decorate for spring. From our entryway, to the living and dining room and kitchen - there is always room for some refreshing spring decor! I hope you enjoyed our Blush and Neutral Spring Home Tour. For more spring decor inspiration check my last years spring home tour here and here.



P I N T H I S F O R L A T E R!!
Follow me on Pinterest HERE.
__________________
You can also watch it on YouTube.
keep in touch!
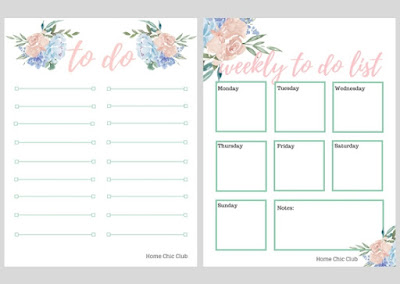
Love FREE printables?
Sign up for my email subscriber list and get your free
Daily and Weekly To Do List and much more to come.
Subscribers Only!

Sharing on:


.png)