Today I`m making DIY Silhouette Black and White Easter Eggs! This Easter eggs looks so elegant and cute and they are so easy and fun to make! I`m skipping the traditional pastels and trying something new and different this year!
━━━━━━━━━━━━━━━━━━━━━━━━━━━━━━━━━━━━━
If you are looking for a non traditional and fun way to decorate your Easter eggs this year, then definitely give these DIY black and white easter eggs a try.
Here is what you will need:
1. Wooden (plastic) eggs
2. Acrylic paint - white
3. Printer
4. Printing paper
5. White paper napkins or tissue paper
6. Decoupage glue
3. Printer
4. Printing paper
5. White paper napkins or tissue paper
6. Decoupage glue
7. Paintbrush
Instructions:
1.Start off by painting the wooden eggs with a base coat of white acrylic paint. It probably shouldn’t take more than two coats to get complete coverage, but if you`re not happy with it, add another coat.
2. After your eggs are completely dry, it is time for designs! I wanted something more vintage, so I find this cute silhouettes on Graphics Fairy . After I download them, I added all photos to a Word document and resize them to fit the eggs.
3. Next step is to print the images and prepare them to be decoupaged to painted eggs. To do this, I came up with this idea to print them on a regular white paper napkin. First, I tried to glue just the edges of napkin to a printing paper with a regular school glue, but that doesn`t work. Then I used a tape and taped a napkin to all 4 sides of paper, so napkin stays in place and that worked!
4. Next step is to cut your images and, using a decoupage glue, add them to your eggs.
First add some glue to egg, then place the image, right side down on the egg and very gently press the edges of the image with your clean finger to egg (if you have any glue on the finger, it will tear the napkin).
Use the brush to add glue on top, making even, light strokes from center of the image to the edges.
Let dry completely and enjoy. So cute, I love it!
I hope you are inspired to upgrade your Easter decor this year and try some new designs! At first I was really hesitant to replace the traditional Easter pastel color scheme with black and white but I couldn`t love it more. What is your favorite Easter project that you have made? I’d love to hear about it in the comments below.
P I N T H I S F O R L A T E R!!
Follow me on Pinterest HERE.
__________________
keep in touch!
Love FREE printables?
Sign up for my email subscriber list and get your free
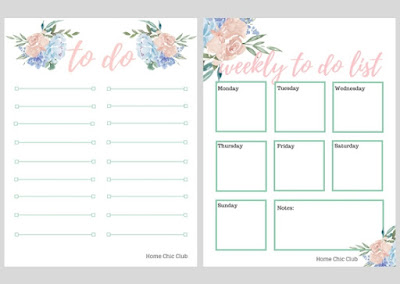
Daily and Weekly To Do List and much more to come.
Subscribers Only!
Sharing on:


So sweet ^^
ReplyDelete2 New post
https://sassyprimadonna.blogspot.rs/
Thanks Adriana! xx
DeleteLove your idea! Black and white is soooo sofisticated!
ReplyDeleteThanks darling!
DeleteZa ovo treba strpljenja i umeća. Predivno! ♥
ReplyDeleteKathy's delight
Hvala ti draga! xx
DeleteKako super ideja :) pa nateraces me da i ovo probam :D stvarno ti svaka cast na kreativnost <3
ReplyDeleteHvala draga, drago mi je da ti se dopada. xx
DeleteThis comment has been removed by the author.
ReplyDeleteHello, very beautiful diy. Have a happy week.
ReplyDeleteThanks Sandra, same to you! xx
Delete