#easyeasterdecorationsHome Chic Club: #easyeasterdecorations
Showing posts with label #easyeasterdecorations. Show all posts

3/03/2016

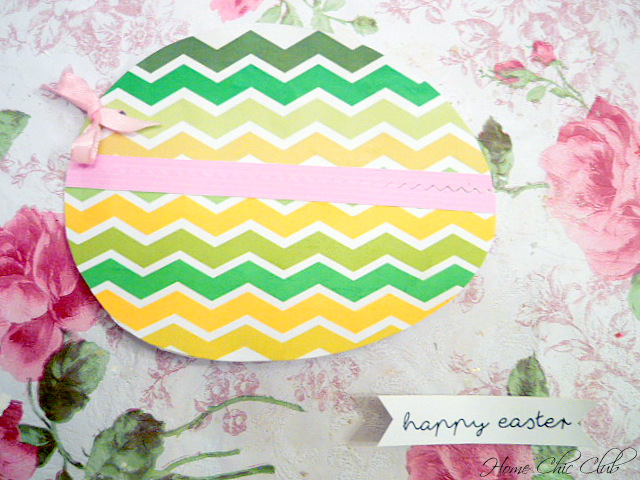
Easter Ideas - Easy Easter Egg Cards DIY

Decorating for Easter is always so fun and creative, because nothing is more meaningful than something made at home. This time it`s a cute and easy DIY Easter Egg Card you can quickly do with your kids and have some fun. 
Today I will show you how to make lovely and awesome DIY Easter Egg card for your family and friends. This lovely Easter Egg card will spread good vibes and impress your family and friends in a unique way. 
You will need:
- scrapbook paper (white, patterned and solid color),
- scissors,
- ruler,
- glue,
- ribbon
Tutorial:
First cut the two oval pieces, one of white paper or cardboard (this one going to be a base for the card) and one of patterned paper.
Cut patterned piece ones again, this time horizontally (make sure that you have enough space to place the chicken later). This is going to be a top part of the card. 
Use a solid color scrapbook paper to cut a long strip for the decorative opening. Cut it in half horizontally with a pattern scissors.
Glue bottom (bigger) part of oval patterned paper on white paper, but don`t glue it all the way to the top (you need a little gap to insert the chicken later). On top of the that glue long strip of paper - bottom part. 
Position top patterned part on top part of white paper (don`t glue that part) just to find perfect spot for top part of long strip. Make sure that top and bottom of long strip matches each other perfectly. Glue long stripe on top part and trim the excess. Aline two top parts and punch a hole on the left corner, then add a ribbon and make a bow. Now your top patterned part can move up and down and close the card. You are almost done. :)
Now it time to make a chicken. Use yellow scrapbook paper to cut the chicken body and wing. Glue the wing to the body, color the eye with a black sharpie and nib with the orange, and then glue chicken on the middle of white part of the card. Be sure to push it inside of a bottom piece (just a little) - (that`s why you didn`t glue bottom part all the way to the top). 
For the decorative part, make a small flower and glue it next to the ribbon. I used small pearl to make it even more festive. Print Easter note and make a small banner. 

Glue banner on the right side of your card, left a lovely note on the back and you are done! How cute is that!! 
Follow me on Pinterest HERE
Find my Free Printables HERE
Keep in touch!
Love FREE PRINTABLES
Sign up for my email subscriber list and get your FREE
Daily and Weekly To Do List, Free Fitness Planner Printable;
The Ultimate Packing Listand much more to come!
Subscribers Only!
free daily and weekly to do pages

4/14/2014

Decoupage On Easter Eggs And DIY Bird Nest

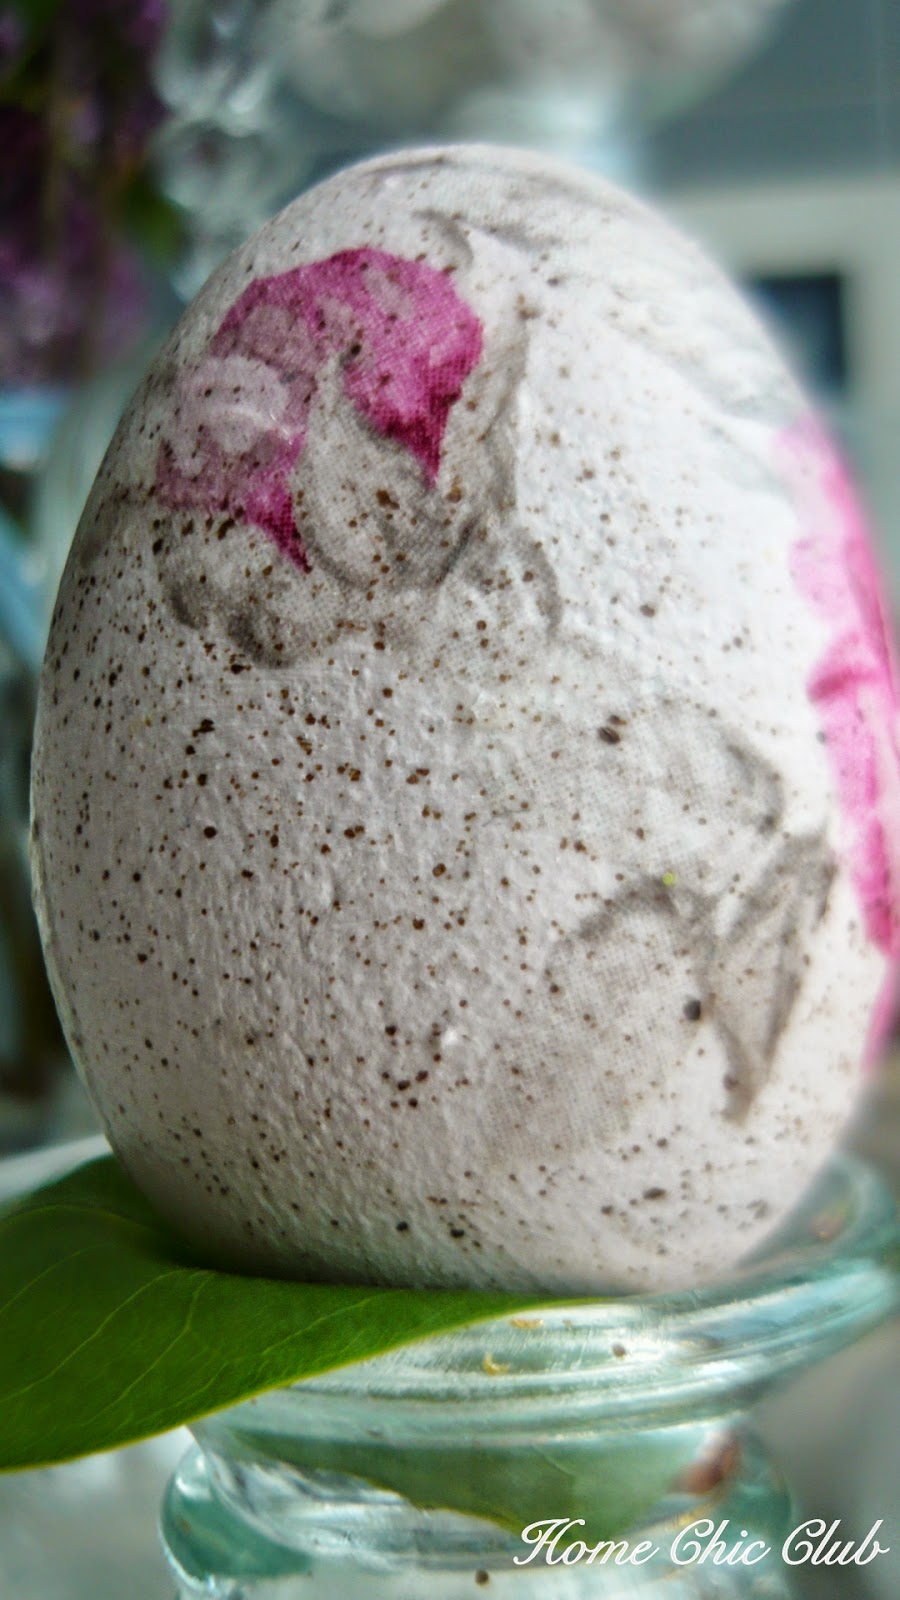
This year I decided to get ready for Easter on time and skip all the last minute tasks, so I started to work on my eggs, because they are definitely one of the most important features of this holiday. They can be decorated in so many ways, but this weekend I used some spare time to do decoupage on wooden eggs and to make a lovely bird nests. Eggs are painted with acrylic paint and ​​I also did a decoupage with cute napkins. Finally, I did a bit of painting and coated everything with a layer of clear acrylic sealer.

Polako teku pripreme za jedan od najvažnijih hrišćanskih praznika, Uskrs. Šarena jaja su svakako jedno od najvažnijih obeležja ovog praznika, a mogu se ukrasiti na nebrojeno mnogo načina. Ja sam za vikend iskoristila malo slobodnog vremena da uradim dekupaž na drvenim jajima i napravim mala gnezda. Jaja sam obojila akrilnim bojama, potom je rađen dekupaž salvetama, malo oslikavanja i na kraju je sve premazano slojem akrilnog laka.

To make my nests, I used a rope but you can also use burlap. Cut randomly longer and shorter pieces of rope, and split each in two parts. I didn`t had sticky glue on hand, so I used the hot glue gun. Also, I didn`t put cardboard on the bottom, but you can, because that way your nest will be more firm and durable. Forming the nest is very simple. First made ​​the smallest hoop and then follow with the bigger, until you got the size you want. I recommend that you don`t try to be perfect because it's even better when it`s a bit messy. To finish it, add a few mini eggs and a bird! Adorable, right?!

Za pravljenje gnezda koristila sam kanap ali možete koristiti i jutu. 
Prvo sam isekla nasumično duže i kraće komade kanapa, pa sam svaki rasprela u dva dela. Pošto nisam imala odgovarajući lepak pri ruci, koristila sam vrući lepak. Nisam stavila karton na dno, ali vi možete jer će onda konstrukcija biti stabilnija. Gnezdo sam formirala tako što sam prvo napravila najmanji obruč, pa sam potom pravila veće sve dok nisam dobila željenu veličinu. Preporučujem da se ne trudite sa bude savršeno, jer je čak i bolje kada deluje malo neuredno. na kraju dodajte nekoliko mini jaja i pričicu i gotovi ste! Zar nije preslatko?!

Follow me on Pinterest HERE.
Find more Easter Ideas HERE.
Find Free Printables HERE.
______________
keep in touch!
Love FREE printables? 
Sign up for my email subscriber list and get your free 
Daily and Weekly To Do List, Free Fitness Planner Printable, 
The Ultimate Packing List
and much more to come.
Subscribers Only!
free daily and weekly to do pages

3/20/2013

Easy Easter Decoration/ 3 Tier Plate

I must be catching spring fever! As you know I love quick and easy decoration projects for my home. And don`t want to rob a bank to do it.
That's why I like quick and easy ideas that can brighten up your home for Easter. Ideas that can be realized for a moment with what you have at home. That kind of idea came to my mind today when I saw a lovely photo on the internet. For such a centerpiece on the table, you need plates, cups, bowls, Easter eggs, flowers and everything you have to make it even more beautiful.Photos will show you how to realize this idea in just a few steps. So, let`s have a look.

Izgleda da me je uhvatila prolećna groznica! Kao što već znate ja volim brze i jednostavne načine za dekoraciju svog doma. I ne želim da pljačkam banku svaki put kada to radim. 
Zato i volim brze i lake ideje kojima mogu da ulepšam svoj dom za Uskrs. Ideje koje se mogu realizovati za tren oka sa onim što imam u kući. Takva ideja mi je pala na pamet danas kada sam pronašla jednu simpatičnu forografiju na internetu. Za ovakav centralni ukras na stolu potrebni su vam tanjiri, šolje, činije, Uskršnja jaja, cveće i svi drugi detalji koji ovaj ukras na stolu mogu učiniti još lepšim. Fotografije će vam najbolje pokazati kako da realizujete ovu ideju u svega par poteza.

Follow me on Pinterest HERE  
Find my Free Printables HERE
_____________
Keep in touch!
Love FREE PRINTABLE?
Sign up for my email subscriber list and get your FREE
Daily and Weekly To Do List, Free Fitness Planner Printable;
The Ultimate Packing List
and much more to come!
Subscribers Only!