

Women like pillows. Men hate them! That`s the fact!
I think my boys believe something is wrong with me and that`s why they can`t peacefully enjoy on their favorite sofa or chair... I don`t even need to tell you how much they get irritated when I try to fluff my pillows several times a day...
Maybe it sounds silly to men, but pillows are just like jewelry on a perfect evening combination... Without them, sofa or armchair looks so unfinished and empty.
To create a monogram pillow you`ll need:
- Printed monogram
- Sharpie Marker Textile
- Plastic folder
- Pillowcase
- Ruler
- Adhesive tape
- Iron
Tutorial:


Put printed monogram in plastic folder, to prevent sharpie to penetrates on the back of the pillowcase. First monogram I wanted to create is my blog`s monogram.

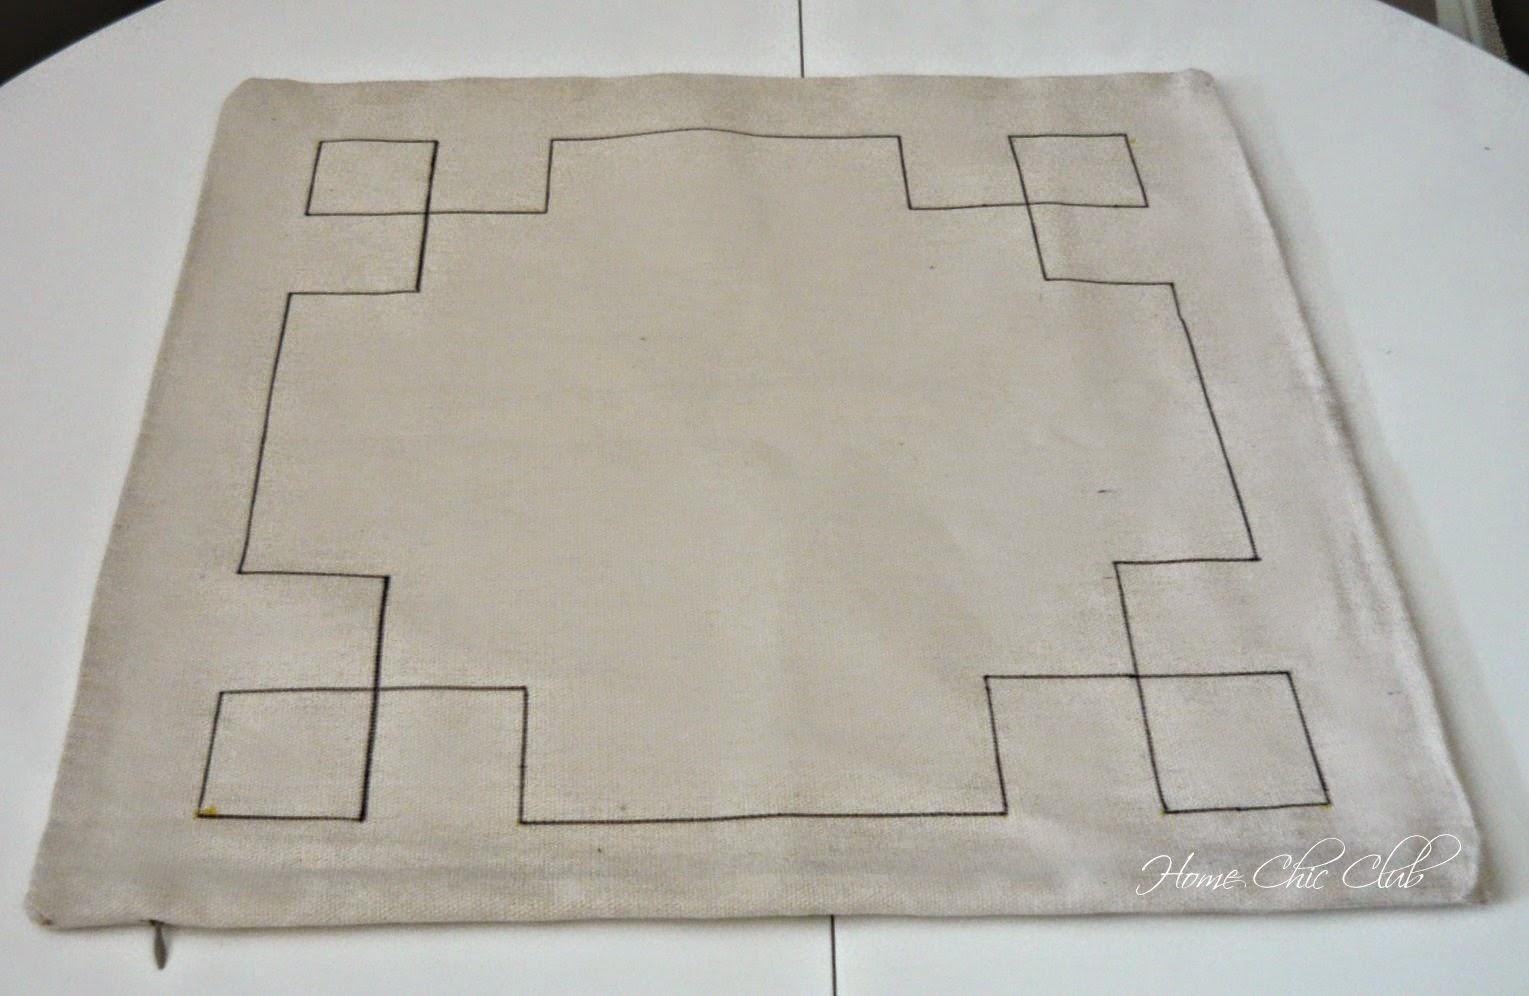
Measure the size of monogram and pillowcase, to set monogram in a central position.

Tape the monogram inside of pillowcase to prevent it from moving while you`re working.

Tape the pillowcase on to the working surface to prevent it from moving around.

Copy your monogram with sharpie.

Color the monogram with your sharpie.

After I finished this part, it looked a little to plane, so I added circle around the monogram.


After everything was drawn, I made my border a little thicker for better balance with letter.


Only thing left to do, is to fix your design with iron for a couple minutes and it`s good to go in your washing machine (so I heard).

I think it turned out pretty good, or should I say totally amazing!! Even my boys likes them!


P I N T H I S F O R L A T E R!!
Find more DIY projects HERE.
Follow me on Pinterest HERE.
__________________
keep in touch!


very nice
ReplyDeletenew post: http://melodyjacob1.blogspot.com/2015/07/white-woodzee.html
Thanks Melody!
DeleteSve mi je poznato :) jastuci su prekrasni! Pozz
ReplyDeleteHehehe...sve imamo isti problem. :) Hvala draga!
ReplyDeleteJa sad gledam i stvarno ne mogu vjerovati da je to rukom rađeno!!! Toliko je uredno i precizno da je to fascinantno! Ja tako što ne bi uspjela reproducirati na papiru! :) Prekrasni su jastuci i savršeno su se uklopili! Potpisujem i tvrdnju da ih žene obožavaju, a muški...muški nas samo izluđuju sa svojim micanjem i premještanjem! ;) POLUDIM što ih konstantno moram vraćat na mjesto! :) Nikada neće naučiti!
ReplyDeleteUpravo tako. Ako samo na kratko odem, jastuci završe na podu ili ko zna gde... Hvala na lepom komentaru, moram da ti priznam, pomalo sam i sama zatečena kako sam ih lepo uradila. Momenat inspiracije.... Uskoro stiže druga tura, mislim da će ti se još više dopasti. :)
Deletexoxo
They turned out great!
ReplyDeleteThanks Pamela!!
DeleteYour pillows look amazing! Thank you so much for sharing this tutorial.
ReplyDeleteThanks for the visit and comment Carol! Happy to have you here! I`m so glad you like it! :)
DeleteŚwietny pomysł! Bardzo ładne poduszki :)
ReplyDeleteDziękuję bardzo za wizytę i przeglądu Angel! :)
DeleteAbsolutely charming! I am delighted to share that your post will be featured in this week's Home and Garden Thursday,
ReplyDeleteKathy
Oh, that`s such a great news!! Thank you so much Kathy!
DeleteIt's universal Vesna...boys everywhere despise cushions. I think these are adorable and I thank you for sharing them at Shabbilicious Friday this week. hugs ~ Kerryanne
ReplyDeleteThanks so much Kerryanne! Happy to share on your lovely party! Hugs!
DeleteOh my word Vesna, these are absolutely gorgeous. I love them. Great tutorial too.
ReplyDeleteThanks Marty! Glad you like it! They are so easy to make!
DeleteThese are beautiful! Thank you so much for sharing. This will be on my project list for sure :)
ReplyDeleteAwww, that's very sweet, thank you so much! :)
Delete