


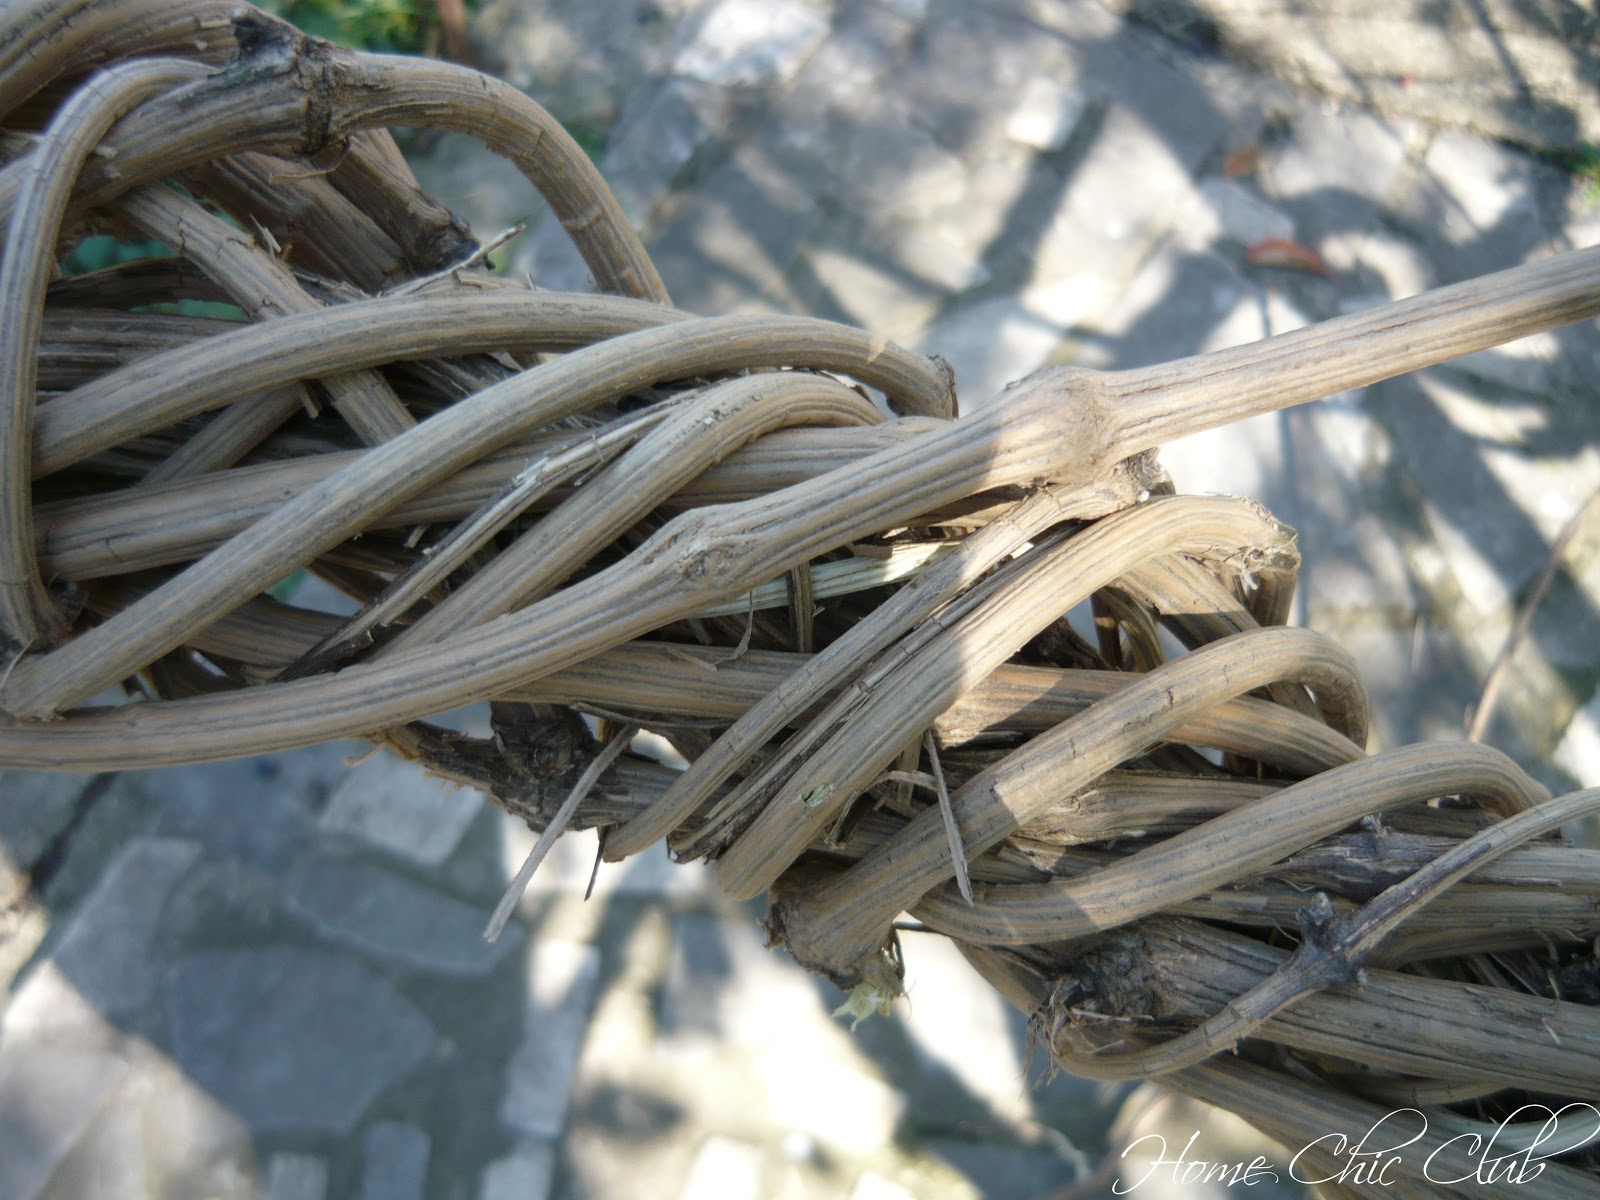
Once something is on my mind, it becomes a instant obsession and I want to start immediately. My dear hubby, who knows me so well, deliberately stayed silent when I suddenly left our afternoon coffee and start wander around. First thing was to find the right, thicker branch, make a loop and secure it with wire (with his kind support, again without any comment or objections about cold coffee he will have later - very clever guy!). After that it was just wrapping other branches around the loop until it was thick enough. I must say it`s a little time consuming and long branches can be tricky (at that point, he totally give up his coffee and disappear - did I mentioned how smart he is?). For this part you don`t need wire, just tuck the end of each branch inside the wreath, and start again.
Zdravo dragi moji! Za one koji su prvi put na mom blogu, dobro došli. Danas sam htela da podelim sa vama moj "uradi sam" jesenji venčić od vinove loze. Pre nekoliko dana moj dragi i ja smo uživali u sunčanom popodnevu u bašti naše vikendice. Pogled, koji bi inače bio savršen, kvarila su mi ulazna vrata kojima je očajnički potreban makeover sa četkom. Dok sam razmišljala o tome kako treba da ofarbam vrata, nesvesno sam počela da zamišljam lepa vrata sa prekrasnim venčićem na njima. Odmah sam počela da planiram odlazak u kupovinu venčića, a onda mi je najednom sinula ideja. Zašto bih ga kupovala ako mogu da ga napravim?! Pa zar nemamo gomilu loze u svom dvorištu potpuno besplatno?!
Normalno, kad imam na umu neki projekat, to momentalno postaje opsesivno i mora da se realizuje odmah! Moj dragi, koji me tako dobro poznaje, promišljeno se uzdržao od komentara kada sam iznenada napustila našu popodnevnu kafu i krenula da tumaram okolo po dvorištu. Prvo sam pronašla odgovarajuću deblju granu i napravila krug koji sam učvrstila cvećarskom žicom (uz njegovu svesrdnu pomoć, naravno bez komentara i primedbi što ga prekidam i što će morati da popije potpuno hladnu kafu - pametan momak!). Posle toga, postupak se svodi na obmotavanje tanjih grana oko osnove sve dok se ne postigne odgovarajuća debljina venca. Moram da dodam da je za ovo potrebno strpljenje jer dugačke grane mogu da budu nezgodne (u tom momentu on načisto odustaje od kafe i nestaje - da li sam već pomenula koliko je moj dragi mudar?). U ovom delu postupka žica nije potrebna za učvršćivanje, dovoljno je samo podvući krajeve svake grane unutar venca i započeti sledeći red.


For decoration I used some faux fern and faux lavender. Using the wire cutters I cut apart the faux greenery and flowers stems so that it is in individual pieces. Slip the branches and flowers trough the grapevine wreath to create the look you want. I didn`t use hot glue or wire to secure it because I like to take it apart and use it again for the next season. Then, I added dried hydrangea, little branches and pine cones in the middle of greenery. I`be been going with a more neutral palette this season to make it work with other decorations in my home.
Prvo sam koristila veštačku paprat i lavandu za dekoraciju. Uz pomoć klešta sam odstranila listove i cvetove sa drške kako bih mogla da ih rasporedim pojedinačno na venac. Kada sam ih aranžirala, u sredinu sam dodala suve hortenzije i grančice i sve završila šišarkama. Birala sam uglavnom neutralne tonove ove sezone kako bi se bolje uklopile sa bojama u našem domu.


Sledeće je bilo pravljenje velike mašne od jute koju sam pričvrstila vrućim lepkom na suprotni kraj venca. Naposletku sam od kartona napravila slovo G, za naše prezime i učvrstila ga vrućim lepkom tik iznad jutane mašne. Ulepšavanje sam završila blagim "talasanjem" krajeva mašne koje sam potom uvukla u venčić! I to je sve, jednostavno i slatko! Na kraju sam odlučila da ga donesem kući, jer tim vratima na vikendici trenutno ipak više treba četka i boja nego venac.


Ovo je bio zaista zabavan projekat i jednostavan način da unesete mali dah jeseni u vaš dom. Najbolje od svega je što ovaj venac može da se koristi bezbroj puta, uz male izmene dekorativnih elemanata, za bilo koju sezonu ili praznik! Da li i vi uživate u novom godišnjem dobu uz zanimljive jesenje projekte i kreacije?
Sharing on:

